Facials are a luxurious treat for the skin, leaving it feeling refreshed, rejuvenated, and glowing. While a professional facial at a spa can be a wonderful experience, you can also achieve similar results with a DIY facial at home. Not only is it convenient, but it can also be a relaxing and cost-effective way to pamper yourself. By following a few simple steps and using ingredients commonly found in your kitchen, you can give yourself a spa-like facial in the comfort of your own home.
**Preparation**
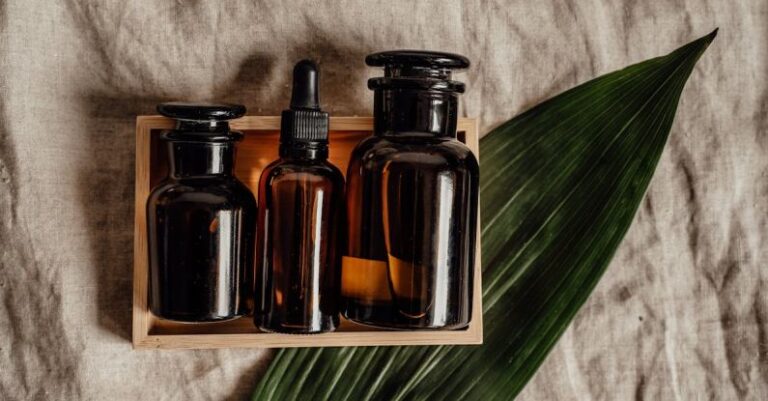
Before starting your at-home facial, it’s essential to gather all the necessary supplies. You will need a gentle cleanser, exfoliator, facial mask, toner, moisturizer, and any other skincare products you typically use. Additionally, have a clean towel, headband, and a bowl of warm water ready. Creating a relaxing atmosphere by playing soothing music and lighting a scented candle can enhance the experience.
**Step 1: Cleanse**
Begin by cleansing your face with a gentle cleanser to remove any dirt, oil, and makeup. Gently massage the cleanser into your skin using circular motions, then rinse with warm water and pat dry with a clean towel. This step helps to prepare your skin for the following treatments by ensuring that it is clean and free of impurities.
**Step 2: Exfoliate**
Exfoliation is an essential step in any facial routine as it helps to remove dead skin cells and reveal smoother, brighter skin underneath. Using a gentle exfoliator, massage it onto your damp skin in gentle circular motions, focusing on areas prone to dryness or congestion. Be careful not to scrub too vigorously, as this can irritate the skin. Rinse thoroughly with warm water and pat dry.
**Step 3: Steam**
Steaming your face helps to open up your pores and soften the skin, making it easier for other products to penetrate deeply. Fill a bowl with hot water, place your face over the bowl, and drape a towel over your head to trap the steam. Allow the steam to penetrate your skin for a few minutes, then pat your face dry with a towel.
**Step 4: Mask**
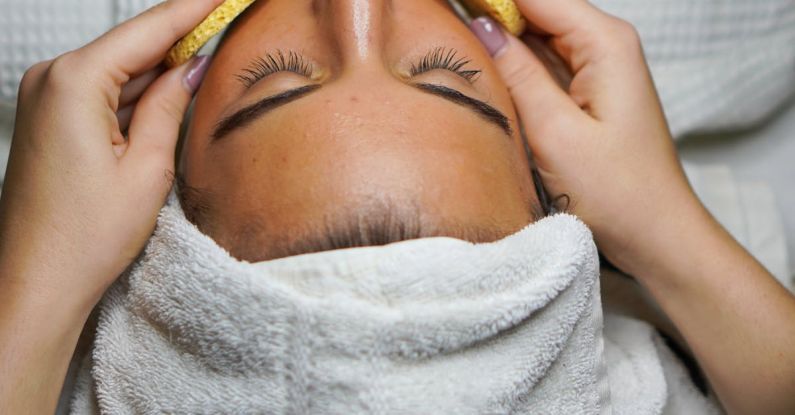
Applying a facial mask is a relaxing and effective way to target specific skin concerns. Choose a mask that suits your skin type, whether it be hydrating, purifying, or brightening. Apply a generous layer of the mask to your face, avoiding the delicate eye area, and leave it on for the recommended time. Use this time to unwind and relax while the mask works its magic. Rinse off the mask with warm water and pat your face dry.
**Step 5: Tone and Moisturize**
After removing the mask, it’s important to tone and moisturize your skin to restore its balance and hydration levels. Apply a toner to a cotton pad and gently swipe it across your face to remove any remaining impurities and tighten the pores. Follow up with your favorite moisturizer to lock in moisture and keep your skin soft and supple.
**The Aftercare**
Once you have completed your at-home facial, take some time to enjoy the results of your efforts. Admire your glowing complexion in the mirror and revel in the feeling of relaxation and rejuvenation. Remember to clean up your workspace and properly store any leftover products for future use.
**In Summary**
Performing a facial at home can be a rewarding and beneficial self-care practice. By following these simple steps and incorporating high-quality skincare products, you can achieve professional-level results without leaving the comfort of your home. Take the time to pamper yourself and treat your skin to some much-needed TLC. Your skin will thank you for it with a radiant and healthy glow.